Windows & Doors
The Word on Wood Windows
Whether wooden windows are old, new or historic, there are some simple steps to help extend their life. The objectives of a sound maintenance strategy are to keep water out of the windows in the first place, and to make sure they dry out if moisture accumulates despite the best efforts at thwarting it. Excessive moisture will accelerate decay.
Annual Cleaning
“We should clean our windows once a year just because it feels good and they look so good when freshly cleaned,” says Sally Fishburn, President of SA Fishburn, Inc., in Danville, Vermont. Fishburn is a graduate of the prestigious North Bennet Street School Preservation Carpentry program and for more than 20 years, she has specialized in wood window restoration and reproduction. Cleaning, she says, gives the owner or craftsman tasked with the job, “an opportunity to inspect each window annually.” Start by vacuuming the windows, screens, sills and casings. Use a HEPA vacuum if lead dust is present. Wash all the wooden elements of the sash and frame, inside and out. Use a mild solution of dishwashing detergent or a linseed oil soap and rinse with clean water. Glass cleaner and cleaning clothes are all that are needed for the panes of glass. Wash the window panes after washing the windows.
It is best to work on a day with low humidity. If the windows are operable, open them and let the air move. Opening only one sash should do the trick. If you use screens throughout the summer, this will effectively dry the windows out before the next heating season as well.
Create a Window Inventory
Prepare a list or inventory of the windows and give them a direction, number and location. For example, a first-floor southern exposure window—working from left to right—would be labeled S1-1, S1-2, etc. Make a sketch or take a photo of each side or elevation and label it. Eventually you can transfer this list to a spreadsheet and keep notes from year to year. This will help you document changes, problems and successful care strategies.
The Inspection Process
Look for peeling paint, fissures in the wood and missing elements, cracked glazing, or broken windows.
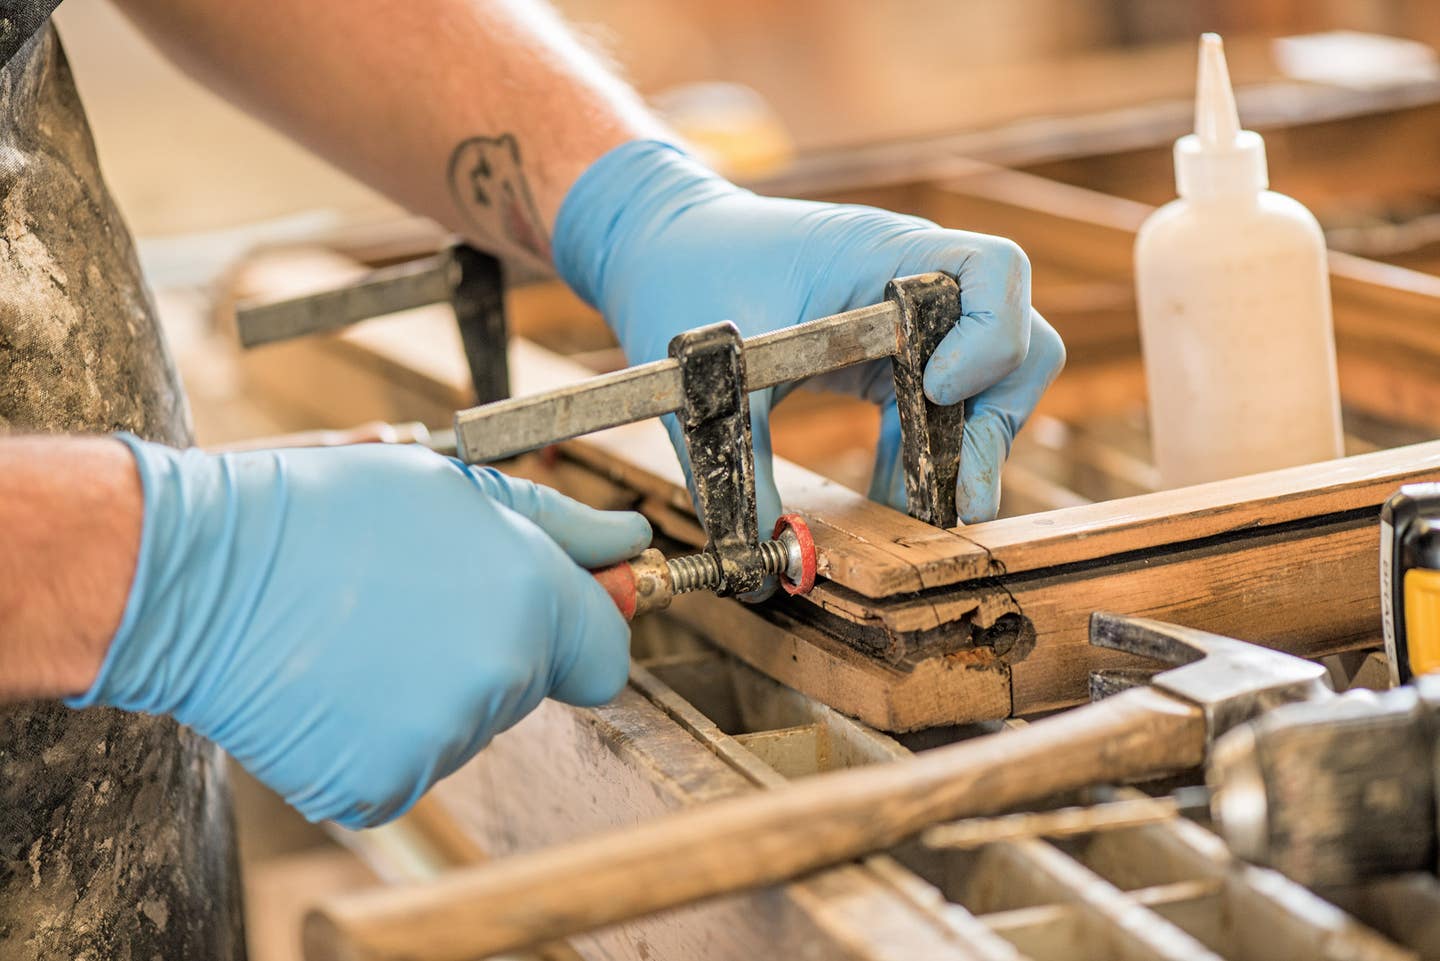
If you observe peeling paint and fissures, the time to fix them is right then. Remember that paint may be decorative to you or the owner, but it is really protecting the wood from UV degradation. A good sound coat of paint is important. Unfinished wood will lose 1/16th of an inch of material every 25 years on average. Glazing and wood must be painted; it protects the weather seal on the window, but Fishburn prefers not to paint the wear surfaces on the edge of the sash. She says some craftspeople do, and it is a debatable point. She doesn’t like to paint the bottom of the bottom rail. She likes to allow moisture to move through the wood. Some craftsmen prefer to seal everything equally.
If you are going to repaint, take the windows out of the frame and allow them to dry or cure before reinstallation in a stable environment for two weeks. Don’t fill the gap between the sash and frame with paint. Sally prefers oil-based paints because they have a harder finish and they facilitate sliding better with less friction. Waxing the edges of the window during annual cleaning will make them slide up and down better. A couple of waxes work well: Butchers bowling wax or a carnauba wax. “Maintain the finishes; the sun is at work everywhere,” cautions Fishburn.
Condensation
If lots of condensation and ice build up on the primary sash during the winter, a couple of tasks should be addressed. Either the primary sash or an interior storm (if present) should have the tightest fit to prevent warm air from accessing the cold glass. Exterior storms need weep holes to allow the moisture to evaporate. Also, notice where the water gathers: the top of the meeting rail and the bottom rail of the lower sash usually collect the most moisture and that can accelerate decay. Weather stripping and repairing damage to the sash can help to remedy these problems. Where can the water go and where can it get stuck? Can it evaporate or drain?
A few words about lead paint
If the windows have not been tested for lead content, it is a good idea to get a professional test. The lead test kits available in hardware stores can be helpful, but are not legally recognized, and depending on the function of the building, that may be a concern. With a professional test, you may find that the lead content is at a permissible level. Stringent laws apply to rental housing and childcare facilities. It is best to check with state health departments about state regulations and visit epa.gov for federal laws. Anyone working on old buildings-should take a lead RRP course. The course provides important information about documentation, lead-safe work procedures and requirements for using RRP-certified professionals in specific situations.
If one finds that the friction surfaces have been painted already; it raises some concerns for lingering lead paint. Lead can still be present even if it has been stripped away previously. The EPA has determined that if the wood fibers contain at least one milligram per square centimeter, then lead safe work practices must be followed. If there are concerns about lead dust from the wood that is worn down, consider painting the surface so that the paint becomes the friction surface. Priming with a different color is a means to alert an owner that the surface should be recoated before reaching the lead–containing fibers below.
Storm Windows
Do you have exterior storm windows? If so, they must have weep holes on the bottom rail to allow moisture to escape. All the storm windows should be opened on a dry day and given some time to dry. In the 19th century, many wooden storm windows featured an adjustable vent on the bottom rail. If you have storm windows with such a device, use them. Interior storms should be removed annually for the cleaning and air-drying process, too.
With a little effort, wooden windows can look better, perform better and last longer.
Judy L. Hayward spends her days pursuing a passion for historic architecture and the ways in which it can be reused to sustain and grow healthy communities. She develops courses in partnership with builders, architects, traditional craftspeople and others to teach both historic preservation and traditional building skills. She has one foot in the nonprofit world as executive director of Historic Windsor and the Preservation Education Institute and the other foot in the world of media and information services as education director for the Traditional Building Conference Series and Online Education Program.


