Product Reports
Sheet Metal – Made to Last
Sheet metal is fabricated by rolling metals into thin sheets. In architectural usage, these sheets are then corrugated, or formed into shapes for cornices, window surrounds, pediments, cladding, and other elements to decorative effect. Originally criticized for its “cheap imitation” of other materials, it is a durable material which has its own qualities of detail, fire resistance, and low cost. When viewing historic metal in the field, it is important to verify the material, as elements that appear to be cast iron could in fact be pressed metal over wood substrates.
History
While metalworking has been recorded since millennia BC, sheet metal is a much later subset of the craft. Roman works used sheet metal on roofs and to line baths. Sheet copper metal ornament is present in Versailles as early as the 17th century. In North America, sheet metal emerged in the 19th century as a common building material, initially supplied by England, until rolling mills were established in post-Revolutionary War America. It was initially iron dipped in tin, hence the name “pressed tin.”
Corrugation of metal sheets, patented in 1829, provided a stiffer, stronger panel, which was rapidly adopted for roofing and siding in vernacular agricultural buildings. A legend emerged in 1834 that a tinsmith fabricated the first tin cornice after witnessing two workers crushed by a stone cornice in a construction accident. It bears consideration, given the first patents for cornice brakes were filed in the late 1830s.
The sheet metal industry greatly improved in 1840 with the utilization of galvanizing for longevity of the material in an exterior application. Galvanizing is the dipping of the metal into vats of molten zinc. It chemically bonds to prevent moisture and air from reaching the metal substrate, preventing corrosion from occurring.
Use of pressed metal for ceilings became popular in the 1870s, with the W.E. Kinnear company patenting their pressed steel panels in 1888. In the 1890s, steel overtook the use of iron due to its greater ductility leading to thinner, larger sheets with greater strength. Steel panels were either galvanized or terne-coated. Terne is a mixture of 15 percent tin and 85 percent lead, which was used in lieu of galvanizing.
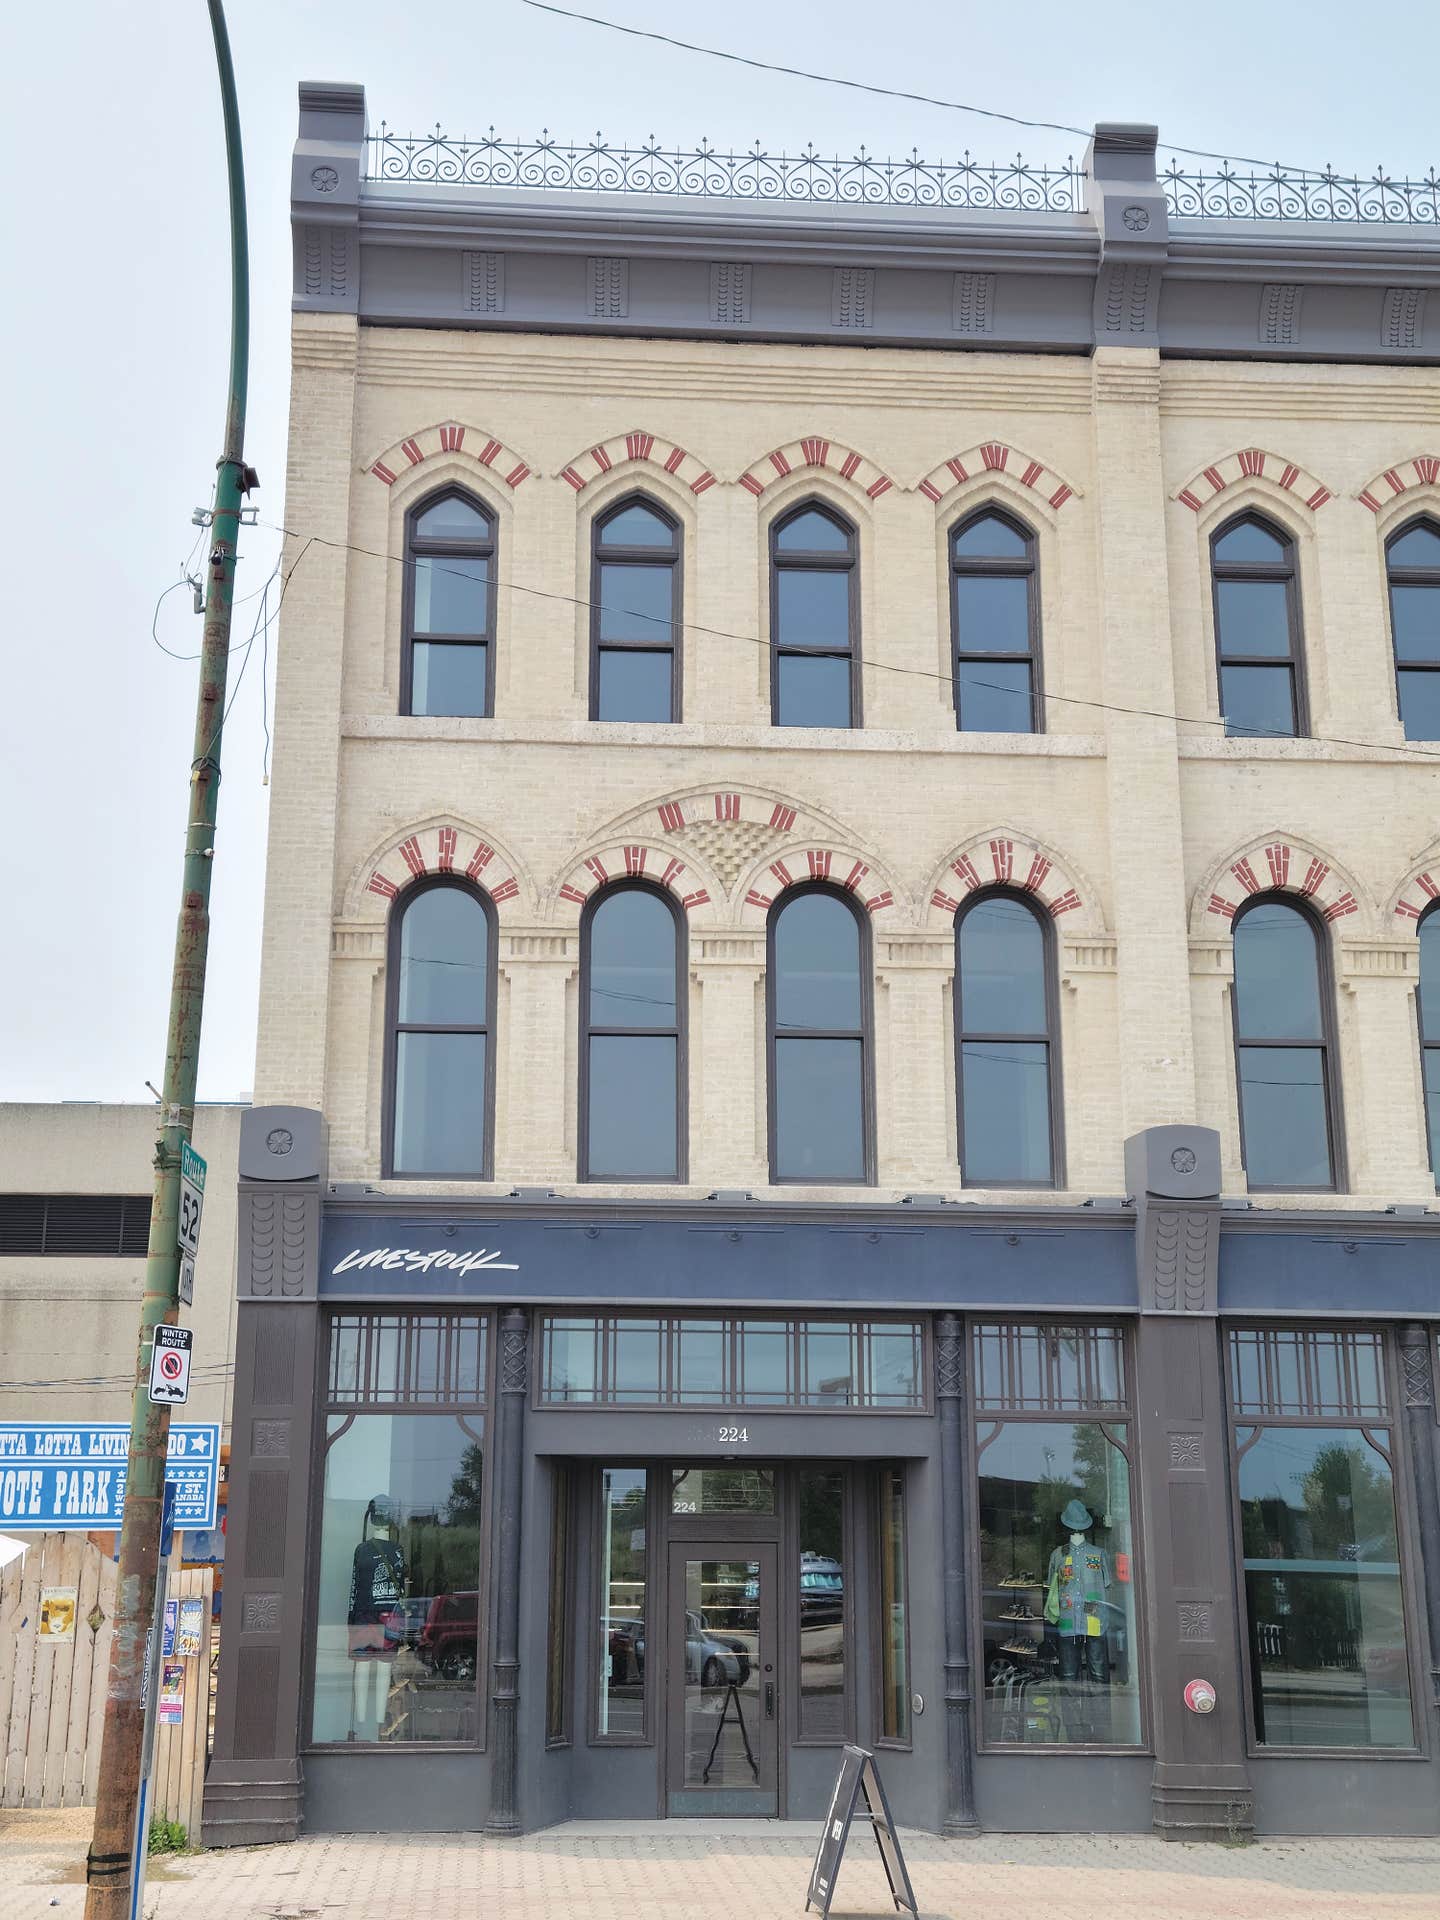

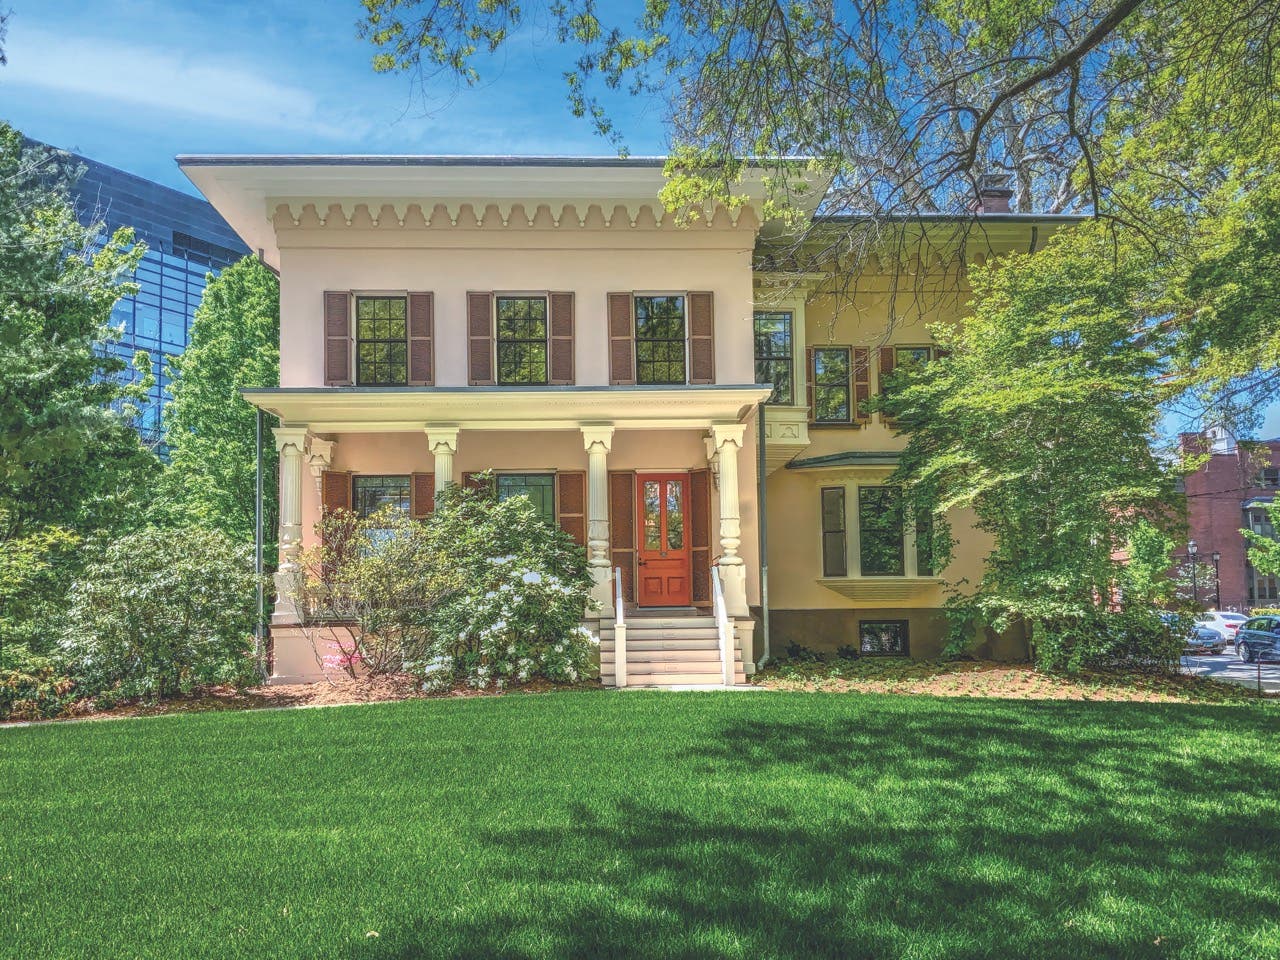
The popularity of Italianate style, 1800 to 1830, was integral to the development of pressed sheet metal, (Fig E) as the cornices (Fig F), window surrounds, and brackets were mass produced and affordable, and could be ordered from a catalogue. The 1876 sheet metal pavilion at the Philadelphia Centennial exhibition by Kittridge Cornice and Ornament Co. solidified the use of sheet metal despite the controversy at the time that it was strictly mimicry of other materials, promoting its durability, fire protection, and low cost.
At its inception, pressed metal was the purview of tin smiths. The elements were simpler, and intricate details would be soldered to them. (Fig A) As elements were mass produced, the cost dropped, and became available on order from catalogues, without the need for the skills of a local tinsmith. The catalogues tended to provide examples of installation, useful instructions for how to estimate quantities, and clear directions for installing, in addition to images of their currently offered tiles, wall, and decorative elements.
These manufactured elements were useful for cladding buildings with large sheets. Vertical walls could use sheets patterned as stone, brick, beadboard, or weatherboard siding, while metal roof panels came in Spanish tile, terracotta style, shingles, and V-crimped roofing. Decorative options seemed infinite, with elements including cornices, roof ridges and finials, pediments, bay windows, window surrounds, skylights, ventilators, weathervanes, water conductors, railings, up to entire metal storefronts.(Fig D)
The size of the elements were dependent on the size of the hydraulic press, or the die used. Thus, ceiling panels were typically 24" x 24" or 24" x 48", wainscotting would come in panels 30" wide, and cornices would come in 96” lengths. These elements would come as bare metal or galvanized, with the intention that the customer would paint them to resemble plaster or wood. Eventually, manufacturers provided their products with factory-applied paint, and in the 1940s, an enameled or powder-coated finish was available.
At the turn of the century, presses used a die stamp in lieu of hydraulic presses. This rapid hammer-like blow of the die into the receiver rendered a crisper profile with better detail.
Installation
Pressed-metal elements are typically mechanically fastened to a wood substrate. Metal panels came with installation holes pre-punched at the recommended spacing. Flat ceiling tiles were nailed to plywood ceilings, while ceiling tiles with any thickness would be nailed to wood furring strips of a depth to suit the panel thickness. Beams and brackets, whether interior or exterior, would be nailed to wood supports sized to match the internal void of the element. Interior cornices would be affixed continuously at the top and bottom edges to wall and ceiling with a continuous furring strip. Exterior cornices would be installed over wood framing to take up the void of the cornice profile. Some manufacturers offered installation drawings, and some provided installation itself.
Failures
As with most exterior systems, moisture is the root of most sheet-metal failures. Moisture causes panels to corrode, sometimes with complete section loss, depending on how thin the panels were pressed. Water can enter through open seams, at anchor points, or where the original design did not provide adequate flashing. If there was an outgoing moisture drive from the building, condensation on the back side of the panels could cause corrosion without detection. Where moisture enters, it also reaches the wood back-up. With cyclical wetting and drying, the wood rots. Failure of the wood, or the added weight of saturation of the wood, could cause cornice failure, sagging of the roof, or bowing of the wall.
There is a miscellany of other causes. Sheet metal may also deteriorate due to galvanic action, caused by such as using a copper nail in a steel panel. Excessive thermal movement of elements may result in metal fatigue at joints and protrusions. Large wind events lift panels or pull them out of plane. Chemicals can streak or pit sheet metal; these chemicals can come from acid rain, lime mortar, Portland cement, lichens and mosses, or debris dropped on the roof, such as large quantities of coniferous needles.
Prepare for Success
Before commencing any historic material repair, start with research to understand the building. Existing drawings can highlight design issues of the original construction. Comparison of the drawings to the existing structure can identify later interventions which may be causing issues. Determine metal used; repairs must be executed with the same metal composition.
Determine the age of the panels. Visual observation helps. Early panels were butt-jointed. Later designs provided malleable zinc decorations to affix to the panel in the field, not embossed into it in the factory. Following on, panels were butt-jointed with a separate decorative trim sold to be applied over the joint. Finally, steel and copper pressed metal overlapped, with embossed decoration. Determine the gauge of the existing sheet metal, if replication is required.
Investigate the assembly to understand what is causing the failure. Given that pressed metal is affixed to wood, wood failure by insect attack, rot, or fire could cause the observed deflection of the metal panels. The metal cladding can be carefully salvaged for reinstallation, after repairs to the substrate have been made.
Repairs
Where materials have failed, repair by patching or reinforcing. Patches use a similar metal, attached by soldering or mechanical means to infill where portions of a panel are missing. Reinforcing applies similar material to the back of an element, where the original element was flimsy.
Where elements are missing in their entirety, check local suppliers nearby. Sometimes local salvage shops may have matching components, which could be reused. Historically, materials were ordered from the closest factory, for both speed and cost of shipping. It is possible that the factory is still in existence. If no existing matching elements can be sourced, use elements elsewhere on the building to make a pattern for fabricating new.
Conclusion
Maintenance is crucial to the long-term retention of historic sheet metal. It is important to monitor the condition of exterior sheet metal. Maintain a continuous coating to prevent corrosion. Damage should be repaired as soon as possible to avoid water migration to the inside of the wall, which could, in turn, further damage other historic fabric. TB
Susan D. Turner is a Canadian architect specializing in historic preservation of national registered buildings. She is the Senior Technical Architect for JLK, a woman-owned business specializing in the repair and preservation of historic buildings. She can be reached at sturner@jlkarch.com


