
Product Reports
Ceramic Tile History
Tiles are unitized elements of fired clay, metal, glass, or stone used for a finished surface on the floor, wall, or ceiling. They are used on the interior and exterior of buildings, and can be monolithic, or highly decorative in color, texture, and profile. The focus of this article is ceramic tiles, non-metallic minerals (clays) fired at high heat to produce a hardened tile. Due to the prevalence of clay globally, brick and tile making is widespread in its production.
History of use
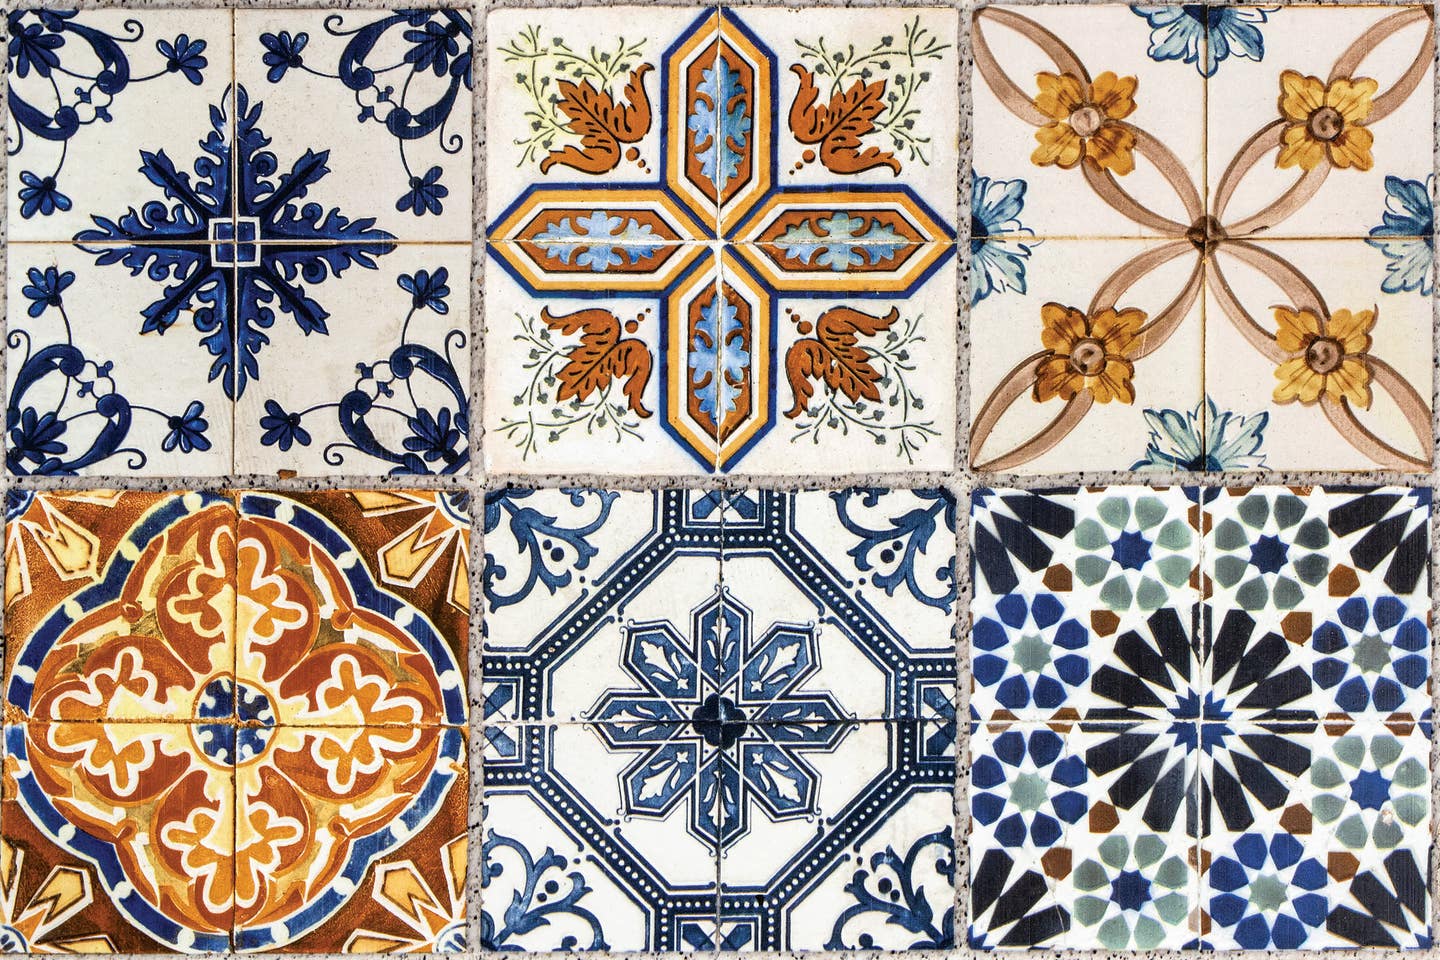
The earliest examples of tilemaking originated in the Holy Lands, about the 4th century BC. From there, the Romans brought tiling to Europe as they occupied lands. In the 8th and 9th centuries, Uighur people of north west China developed what became the basis for 13th-century Turkish and Middle Eastern tiles, notable for their geometric symmetry and botanical motifs.
The Roman artform died off, to be rediscovered by the Cistercian monks in the 12th century. They developed a pressed tile with an imprinted pattern with multiple color known as encaustic tiles. This method was lost later in the 16th century until the 17th century saw a rise of these tiles in Turkey, as well as Delft tile in Holland. In the mid-18th century, the tile industry rose into popularity again, with production spreading across Europe. Herbert Minton began encaustic-tile making again in England about 1843. This method was overtaken by machine pressing drier clay to mass produce tiles. While solid color tiles were produced in central and south America as early as the late 16th century, they weren’t prevalent in the United States, which imported tiles from Europe until the United States generated its own industry starting in 1870.
With the Victorian era, the push for cleanliness and public health, popularized tiles as a surface that could be cleaned and sanitized. Until this time, encaustic tiles were the dominant form of tiles. Starting in the 1890s, white and colored ceramic tiles were produced, followed by faience (variegated) glazed tiles. With the emergence of ready-mix glazes in 1900s, consistently colored tiles were possible.
Tile’s inherent properties
Typical ceramic tile is made from clay, formed when malleable, and then dried before it is fired in a kiln. Clays are natural materials which vary regionally, resulting in varying workability, color, texture, density, and porosity. The color and hardness of the produced tile is also affected by the temperature at which it is fired.
There are two types of tiles: glazed and unglazed. Glazed tiles receive a colored surface on either green or fired tiles, which is then fired. Unglazed tiles get their color from either the clay itself, or from additives such as dye, pigment, or oxides. Unglazed tiles include quarry tile, encaustic tiles, and mosaic tiles.
Quarry tiles were originally stone pieces taken from the quarry, cut into small units, and laid as tiles. Modern manufacture of quarry tiles extrudes clay, cuts it in consistent but thick slices, and fires it, resulting in standard squares or rectangles in earthen colors of brown, grey, or red.
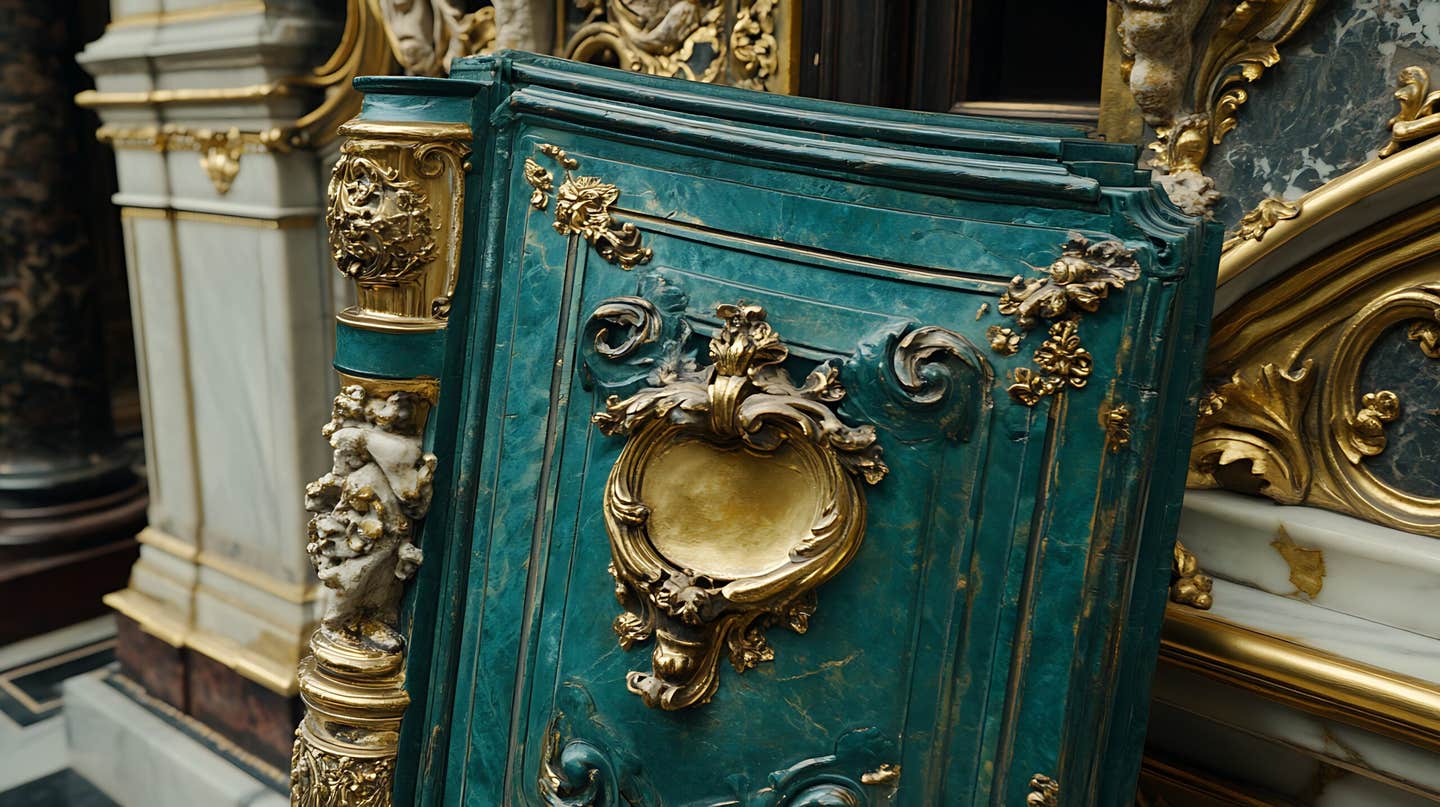
Encaustic tiles are clay bodies that have a pattern pressed into the top of the tile, and liquidized clay, or very thin, colored ‘slip,’ was poured into the pattern to make the final appearance, and then fired.
Mosaic tiles initially began as tiny cubes of colored stone called tesserae, arranged individually by hand to depict geometric patterns, or a complete picture. Modern manufacture uses clay to form the individual tesserae, pre-arranges them and attaches them to mesh for ease and speed of installation.
Prior to WW II, commercially manufactured dust-pressed glazed tile could take up to seventy hours to produce from start to finish. Advances in automation developed a conveyor system that took tiles through a tunnel kiln, producing consistently thin tiles, applying an even glaze, firing them, cooling them and boxing them in as little as two hours, substantially reducing cost and increasing availability.
Typical installation methods
Tile setting has not changed much over the ages. Tiles were soaked in water and laid in a mortar bed over a solid substrate of bricks or concrete. Once set, the crevices between tiles would receive a pure cement mortar, sometimes with lamp-black mixed in for color. Where wood floors were present where a tile finish was desired, the planks were taken up and set flush to the top of the supporting joists. A tar paper was laid to separate the wood from a poured concrete underlayment. Early in the 20th century, newer technology was introduced as substrate, such as plywood, but over time, these substrates deteriorated with moisture, and are no longer recommended by the Tile Council of North America. A small change for modern installations is the introduction of an anti-fracture membrane and expansion joints, which would not be typical of historic installations.
Maintenance
Cleaning should always begin with the gentlest means possible. Sweeping, then warm damp mopping could be sufficient. No abrasive or acidic cleaners should be employed. Where any type of chemical cleaner is being considered, it should be tested on a small inconspicuous area, to ensure it does not discolor, or abrade the tile, or leave etching or efflorescence behind. Always thoroughly wet the floor tile first before applying any cleaner, as this will fill pores with clean water, and deleterious chemicals will not be able to penetrate as far.
Stains should always be identified prior to cleaning, to prevent setting the stain. For stubborn stains such as oil, heel scuffs, or asphalt, a mild ammonia cleaner could be used on wetted tiles, and thoroughly rinsed afterwards.
Historic ceramic tiles did not typically receive any treatment once laid, other than wax. Caution should be used in considering any treatment—coating, sealant, or wax—before it is applied, since these will require more maintenance that the ceramic tile alone. They can show wear patterns more, blister or wear off inconsistently, or cloud, obscuring the beauty of the original tiles. Ensure that any coating will not negatively impact the static coefficient of friction for slip resistance required under the Americans with Disabilities Act.
Failures and Causes
Ceramic tiles are durable but suffer a variety of failures.
The first enemy of tile is abrasion. Floor tiles are typically strong, and resistant to wear, but with decades of foot traffic, tiles can lose their pattern, or even reduce in the thickness of the tile, which is especially noticeable on heavily used walk patterns and stair treads.
Glazes are typically as strong as the tile but occasionally can exhibit pitting or crazing. This is more frequently observed with lead-glazed which were fired at low temperatures in the 1800s. The crazing can retain dirt from damp mopping, and if it extends through the entirety of the glaze, it will increase the porosity of the tile.
Ceramic tiles are extremely hard but are susceptible to breakage or chipping due to the impact of a dropped tool or the point load of a metal wheel on a cart.
Moisture can saturate the bedding mortar, loosening the bond of the tile to the substrate, and mildewing the grout. Where tiles with a porous substrate are constantly exposed to moisture, the tile can spall.
Loose, popped or unbonded tiles are due to a failure of the setting bed. There are many causes: mortar which is too strong, or was not well prepared, a substrate which flexes and breaks the bond of the mortar, or strong cleaning solutions which degrade the grout and permit moisture to reach the mortar bed.
Tile can be damaged or lost due to building works, such as plumbing changes or moving walls. Frequently the repairs completed afterwards are inappropriate, leaving unsightly patches using tiles which are not consistent in size, shape, thickness, color, or pattern.
Current conservation approach
As with any repairs to historic materials, use the gentlest and least invasive methods possible, with the smallest impact to historic fabric. In approaching these repairs, address the cause first, then repair the symptom that was observed to need repair. For the most part, repairs to tiles should be left to the experts for anything beyond routine cleaning and maintenance.
To prevent wearing of the tile surface by abrasion, frequent vacuuming or sweeping will remove the grit which can be ground in by carts and foot traffic. At locations such as doorways and corridors, walk-off mats can be used to reduce the tracking of grit, and to protect the heaviest trafficked areas.
When glaze pitting or crazing is encountered, there is not a lot that can be done. While the dirt can’t be easily removed without further damage, it does not typically contribute to further failure. Occasionally, a conservator can be hired to treat the glaze with a densifying agent followed by a repellant, but this should only be attempted by experienced professionals familiar with the chemistry and application of such interventions.
Where moisture has damaged tiles, the source of the moisture should be removed. If the damage is the loss of the mortar bed, then the tiles can be salvaged and reinstalled once the source of moisture is removed. Where mildew or mold has developed, a dilute (5-10%) solution of TSP (tri-sodium phosphate) can be used, rinsing well. The dwell time should be momentary (a minute or two) since the alkali nature can cause efflorescence.
Removal of an individual broken tile can frequently damage more adjacent tiles during its replacement. Cracked tiles can be repaired with epoxy injection, and small pieces that have broken off can be re-secured by epoxy. Consistent with retaining the most historic fabric, small chips can be repaired with an epoxy mixed with colored enamel, or for unglazed tiles, a tinted mortar patch.
A comprehensive approach is required for replacement of any tiles. First, determine the cause of the damage and eliminate it.
At areas of loose, popped or unbonded tiles, the cause could be a poor substrate, a lack of expansion joints, or deterioration of the grout. The tiles can be salvaged in that area, and re-laid, after stiffening the substrate, providing an anti-fracture membrane, and soft joints of colored sealants to control movement. Where individual tiles are impact damaged and cause a tripping hazard, or there are tile losses due to building works, they can be carefully removed. This should not be done with hammer and chisel, as the impact can fracture or debond adjacent tiles. An experienced tile professional will use a hand grout saw to remove or salvage tiles. Where grout joints are wider (>3/8”), a diamond blade mounted in an angle grinder can remove the long sides, while the corners are carefully chipped out by hand.
Replacement tiles are the greatest challenge of repairs. They need to be exact in size, shape, thickness, pattern color and detail. Even if attic stock is found or exact replication is achieved, they will not share the patina of adjacent tiles. Where tiles require replacement in conspicuous areas, historic tiles can be salvaged from areas out of public view and used in the conspicuous areas. Replica tiles can then be used in the inconspicuous areas.
Pros and cons of using it today
Ceramic tiles have long term durability, and their detail is often a significant contributor to the edifice’s historic character. When intervention into historic tile installation is warranted, it is best to engage professionals accustomed to specifying and executing the repairs required. Many well-intentioned DIY efforts can lead to further damage which can irreparably harm the historic fabric.
Resources
www.tileheritage.org Education, identification and archival information.
Associated Tile Manufacturers: Basic information: ingredients and processes, gradings, sizes, shapes, colors, finishes, nomenclature, 1921, public domain, located in the Building Technology Heritage Library noted above.
Tile Heritage - A Review of American Tile History Vol X No.2
Durbin, Leslie: Architectural Tiles: Conservation and Restoration, Routledge; 2nd Edition (May 12, 2014)
Fawcett, Jane: Historic Floors: Their History and Conservation, Butterworth-Heinemann Series in Conservation and Museology (July 22, 1998)
Susan D. Turner is a Canadian architect specializing in historic preservation of national registered buildings. She is the Senior Technical Architect for JLK, a woman-owned business specializing in the repair and preservation of historic buildings. She can be reached at sturner@jlkarch.com