Features
Pattern Play
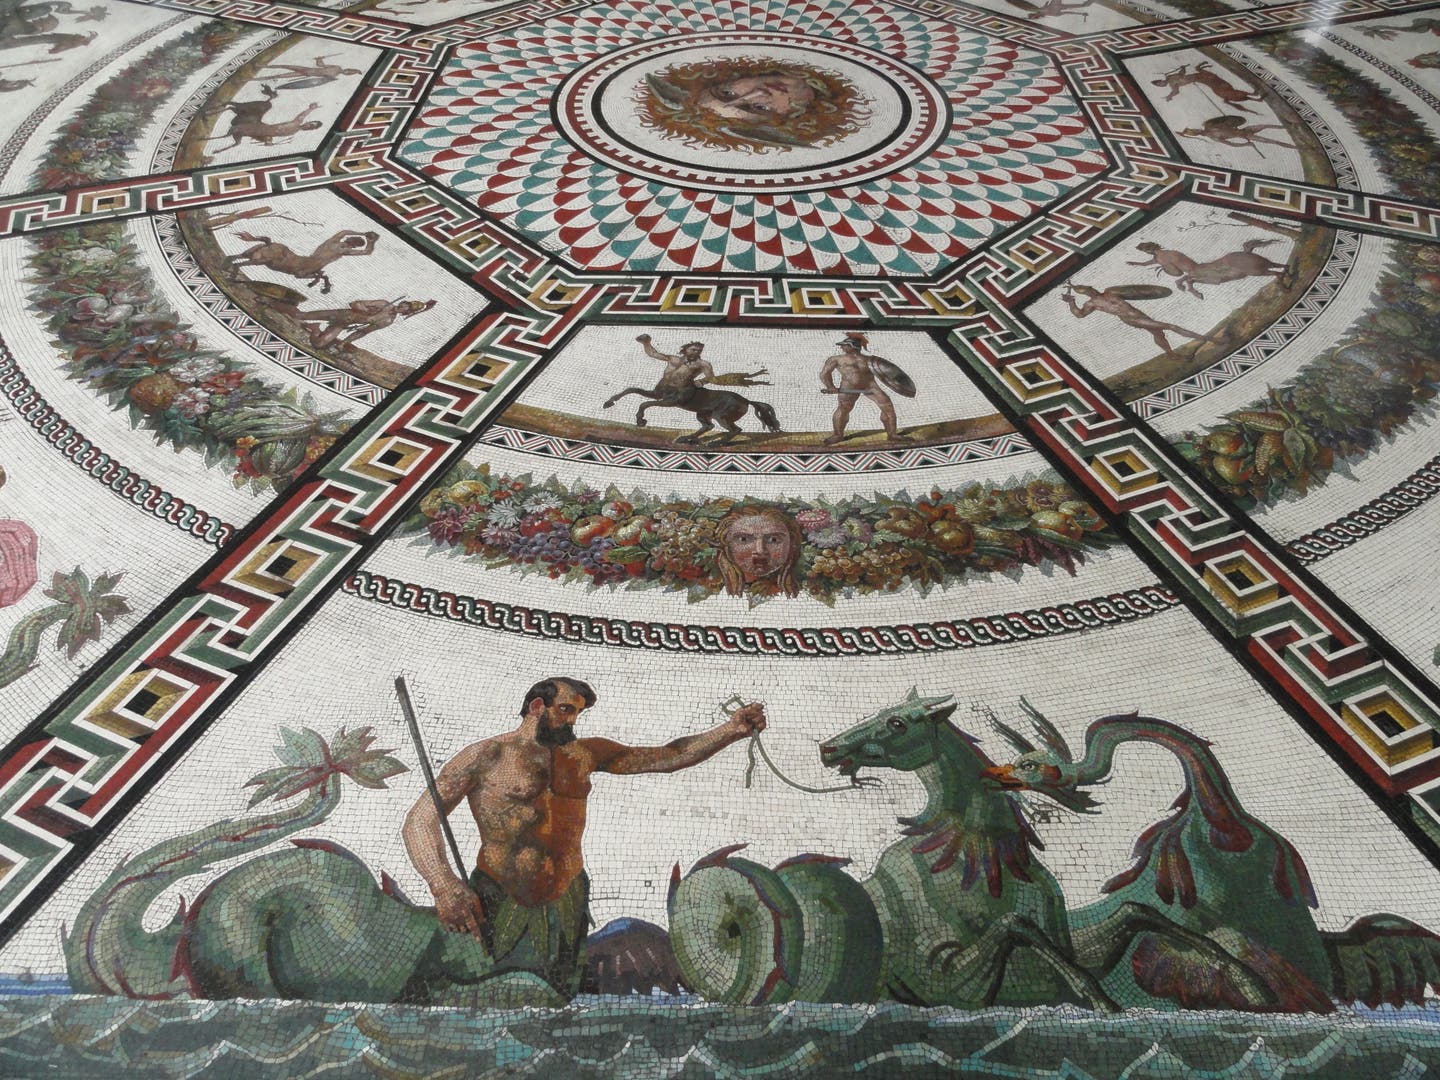
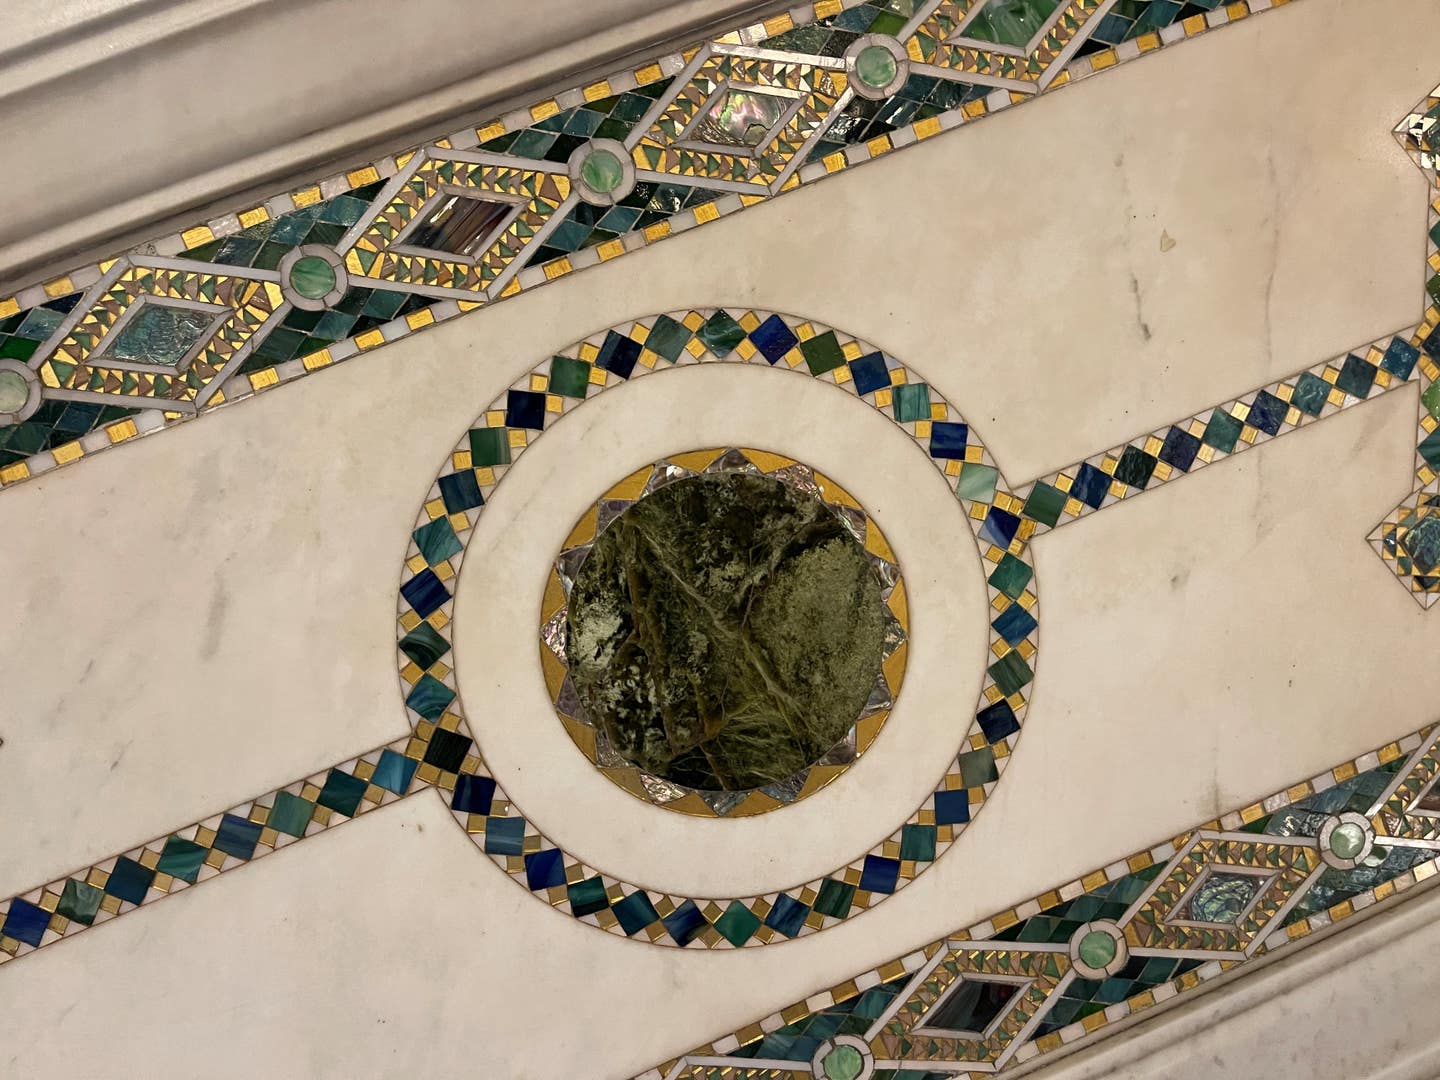
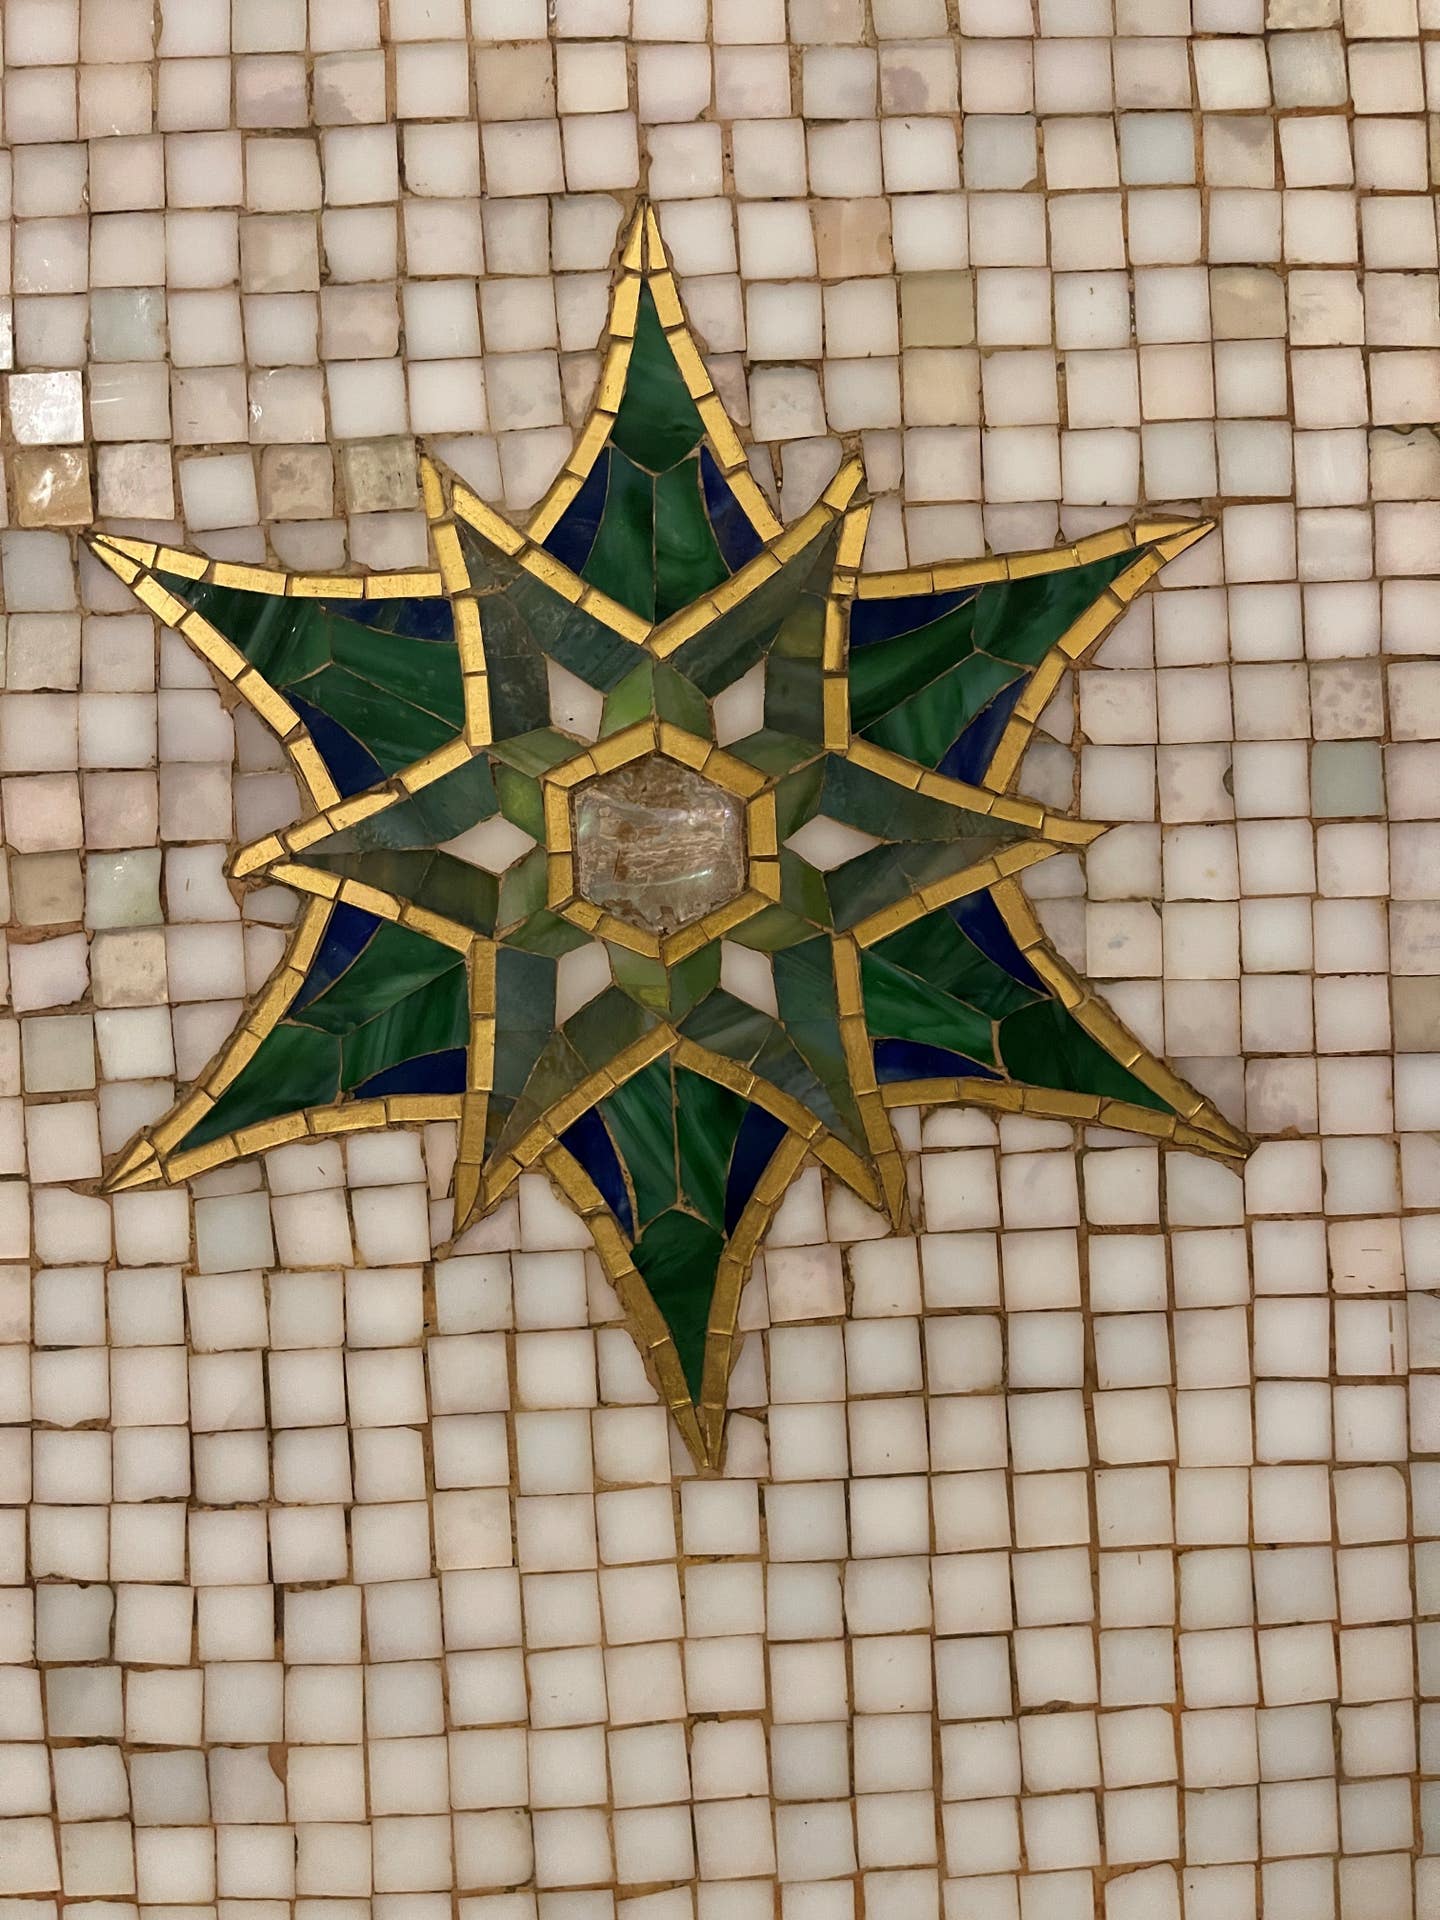
Classic mosaics consist of many small pieces of colored stone, glass, or ceramic, called tesserae, arranged in patterns using color and shape to depict scenes or make patterns. Tesserae are either square or irregular, set in mortar or plaster to hold them in place. The size and arrangement (random, linear, rows, columns, or both) of the tesserae create subset names for mosaics, but this will not be differentiated for the purposes of this article. Mosaics can be used on floors, walls, ceilings, interior or exterior, and on moveable panels or artwork.
HISTORY
Mosaic tiles date back to 3000 BC, as found in Mesopotamia, in the form of pebbles set into the floor using bituminous adhesive from naturally occurring tars. Starting in the fourth century BC, the Greeks began to produce precise geometric patterns and depictions of figures and animals. Romans brought mosaics into a popular art form, introducing soft mortars containing sand, crushed shells, pottery shards, and lime. Setting beds were frequently made of hard mortars, using the same materials with the addition of pozzolans, such as gravel, marble dust, and volcanic ash. Grouts were typically colored with crushed marble. By the eighth century, glass, colored stones such as lapis lazuli, along with shells and ceramics, began to be incorporated in both religious and domestic subjects.
From ancient times, there have been two application methods: direct and indirect. Direct setting places the individual tiles into the grout or adhesive, attaching it directly to a substrate, and is typically used on smaller areas. For larger areas, the indirect method was used. Clay was rolled out and the tesserae set in the desired pattern and tamped down to a flat surface. Historically, fabric soaked in water-soluble glue was placed over the mosaic to adhere the pieces into one surface. Once the fabric was bonded and dry, the sheet of mosaic tiles was removed from the clay and the sheets were transferred to the project site. Once set into its final location, the fabric was removed and the tiles grouted.

CURRENT APPLICATIONS
Classic mosaic flooring is typically installed using the indirect method, with a paper backing on the top face to hold all the tiles in position. The paper similarly provides an even face, so that the grout may be applied to the tiles deeply into the joints without smearing the face of the tiles before flipping the sheet onto the mortar substrate and tamping it into the grout bed. This is the traditional installation but can be problematic for matching patterns, since the paper obscures the pattern being matched. The modern evolution is to use a clear plastic adhesive sheet on the top face of the mosaic bits. The clear plastic permits pattern matching, and its adhesion to the top face of the tesserae permits deep grouting from the backside before placing the tiles in the grout bed for a full bond.
Modern mosaic flooring has much less pattern, with tesserae adhered to a fiber mesh backing for mass-produced mosaic sheets. Individual tesserae are set right side up by machine with precise spacing onto a backing on the bottom side. This backed square is then laid directly into the grout. This method is best for nonporous tiles, since they would then be grouted from the front face after placement. One drawback is that the backing can prevent a full bond with the grout bed.
WAYS MOSAICS FAIL
To begin any repair, carefully document the pattern and salvage any loose tesserae. Remove any deteriorated grout, using what grout is present for analysis.
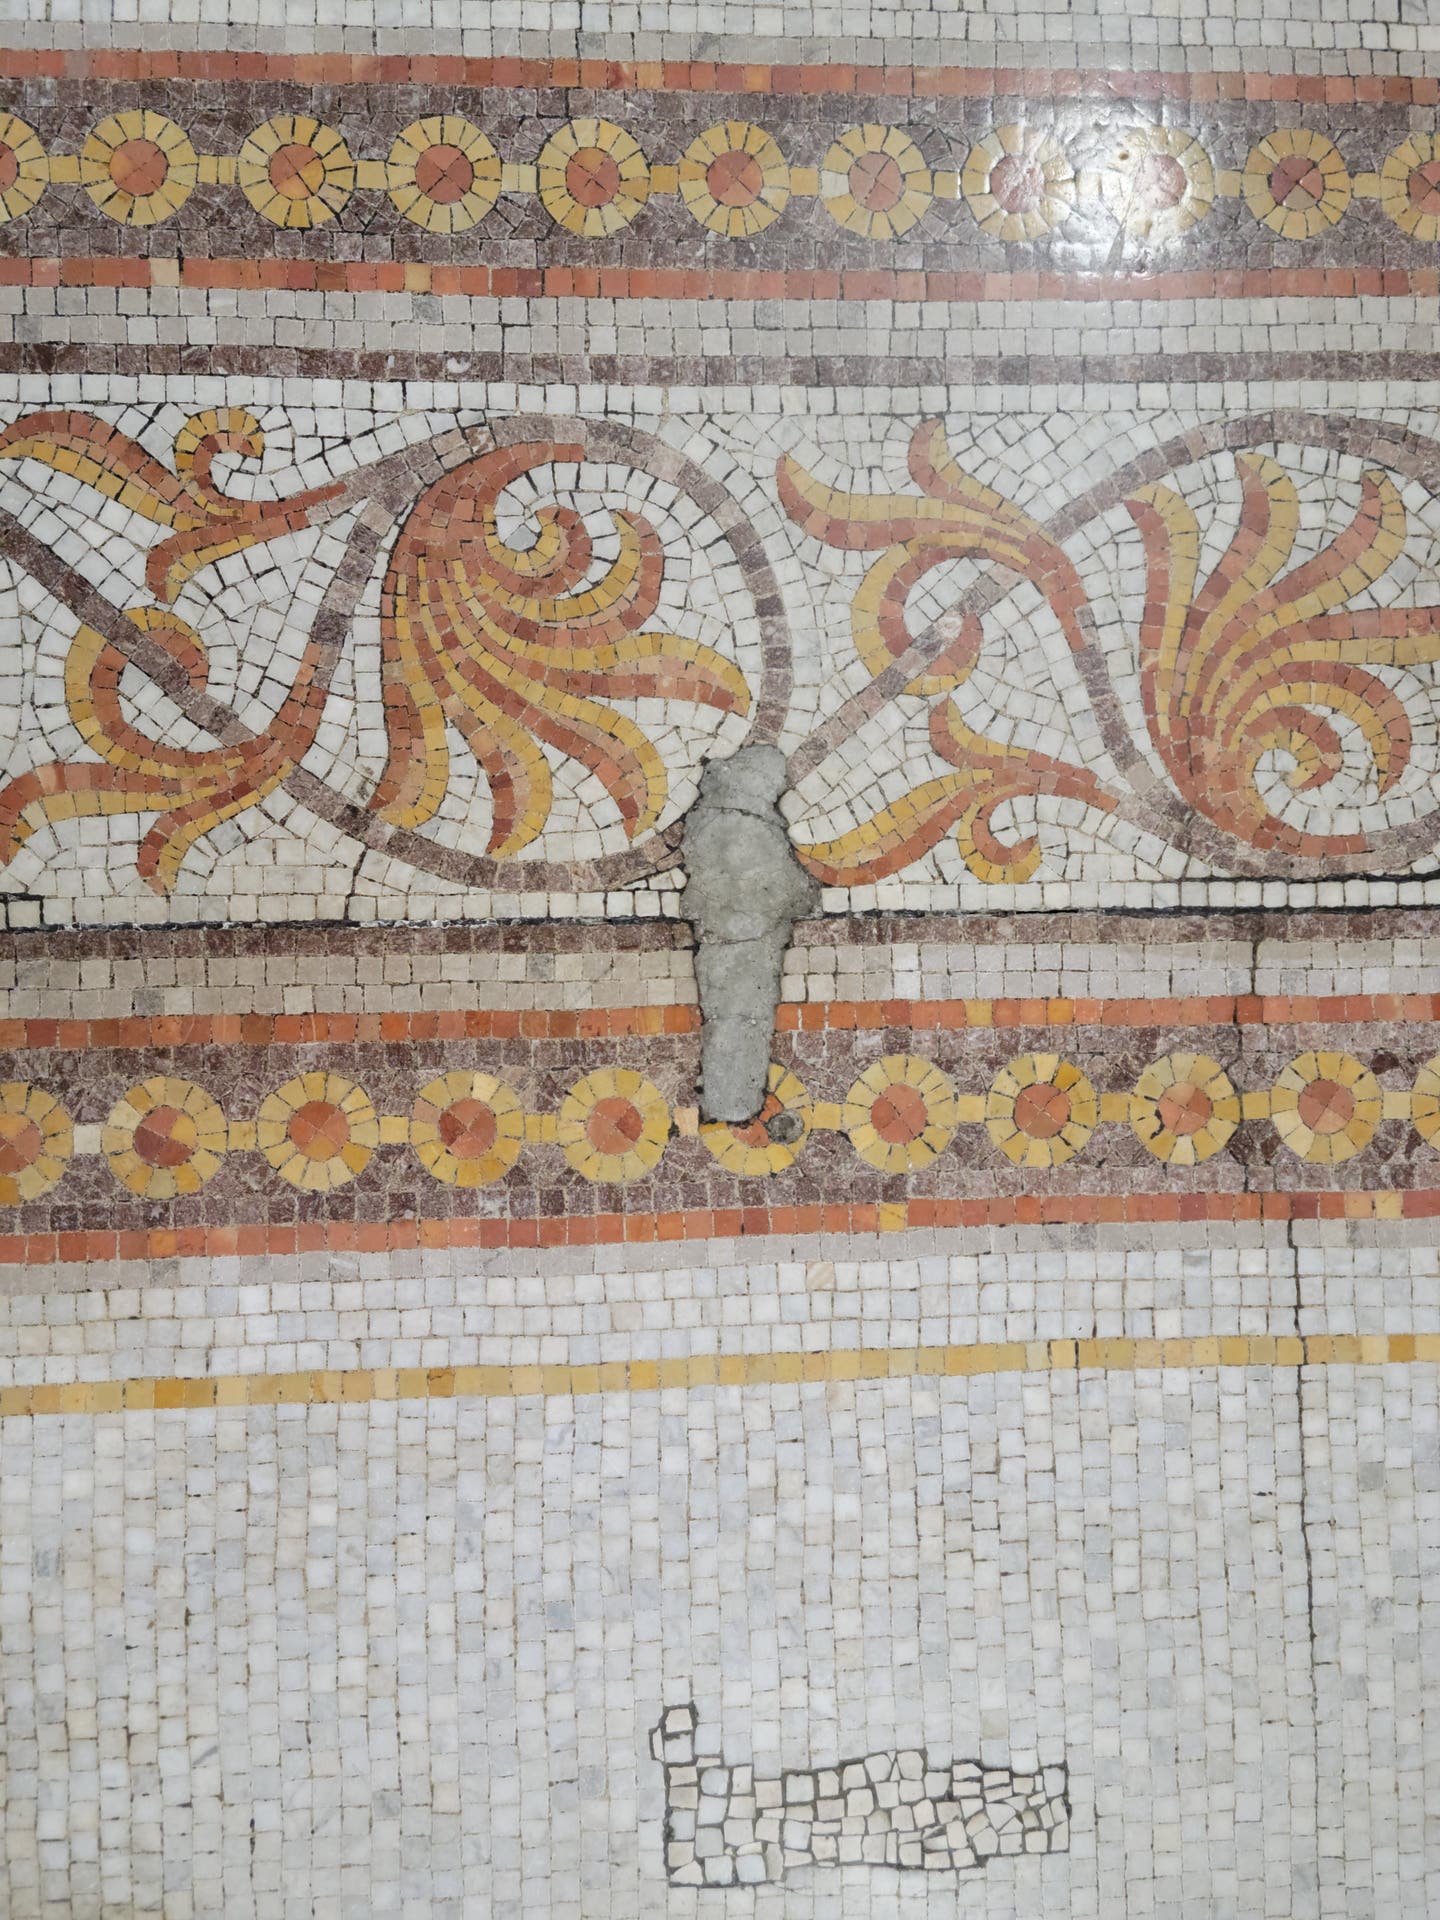
Glass, ceramic, and shell tesserae can be brittle, subject to impact damage. Rogue retrofit work such as electrical conduits or mounting light fixtures can disfigure the mosaic with large holes crudely patched. Given cracking of the substrate, or differential movement between hard, nonporous tesserae and soft, porous grout, individual tesserae may become detached, or they could push against each other and dislodge upwards like a tent. In all these cases, the individual tiles can be reset, or new matching replacement tiles can be set.
If there are adjacent tiles that seem loose, do not attempt to remove and reset them as well, since the removal process could easily damage other tiles. Dry fit the tiles to ensure that they are positioned accurately, and place adhesive plastic film on top of the repair area. Remove the dry fit tile with the plastic attached. Apply grout deeply between the bits and install using the indirect method. Use matching mortar, comparing cured samples to the original mortar, to ensure the repairs blend well.
Indirect applied tile can sometimes lose the bond to the substrate, if the grout was too dry before setting. When bond loss occurs, epoxy or thin slurry mortar can be injected through a grout joint to fill the void. This repair should only be performed by professionals and is considered non-reversible if done with epoxy.
If the substrate becomes wet, mosaics could experience efflorescence, a whitish deposition of salts which come out of the mortar or concrete bed. For efflorescence to occur, three conditions must be present. 1) Soluble compounds (or salts) must be present in the grout or substrate. 2) There must be moisture to solubilize them. 3) A moisture drive in the form of hydrostatic pressure or evaporation must be present to cause the salt to migrate or deposit. Remove any one of the three conditions, and the formation of efflorescence no longer occurs. Once the cause of the efflorescence is removed, surface salts can be removed with a stiff natural bristle brush wetted with an acidic solution. Note: test the solution in an inconspicuous spot to ensure that it is compatible with the types of stone used.
Mosaics that are continually moist could experience mold or mildew growth. As with any repair of a symptom, first remove the cause: the source of the moisture. Then, to remove biological growth, use a biocide cleaner.
Rinse any chemical treatment well, mopping up any liquid present as quickly as possible. At the completion of cleaning, ensure the substrate is pH neutral by testing with litmus paper. Continue cycles of rinsing until pH neutral is achieved.
Floor mosaics will wear due to abrasion by foot traffic, which grinds in dirt and grit. This abrasion can frequently wear away the glazed surface, which permits further erosion of the substrate that is now exposed. For areas of high traffic, use walk-off mats to remove the grit from shoes. Avoid rubber backed mats, as these can trap moisture, which in turn discolors the grout or could permit biological growth.
Cleaning of mosaic floors can be performed using a mild detergent to remove a build-up of wax or grease, while acidic cleaners are useful for spot-cleaning stains on cementitious grout. Wooden or plastic scrapers could be helpful in removing paint drips or sealant smudges. Never use steel scrapers or steel wool, which can leave behind trace iron that will oxidize and stain. Water may be used sparingly for rinsing, ensuring that the water is fully dried up. Once the floor is clean, it is possible to use a thin wax or acrylic clear coat to protect it, but these coatings will require maintenance.
CAUTIONS
Resetting mosaic tile is best executed by experienced professionals, to avoid detectable repairs. Any consolidation of voids is a task best left to professionals. With care and minimal maintenance, a character-defining mosaic floor, wall, or ceiling will remain a beautiful feature in perpetuity.
RESOURCES
Information for Historic Building Owners: Ceramic Tile Flooring, Historic Scotland, Alba Aosmhor, published March 2014, principal author Roger Curtis
Care and Conservation of Historic Architectural Tiles, Historic England, updated October 2020
Caring for Old Floors Advice from SPAB, The Society for Protection of Ancient Buildings, London, © 2016
Susan D. Turner is a Canadian architect specializing in historic preservation of national registered buildings. She is the Senior Technical Architect for JLK, a woman-owned business specializing in the repair and preservation of historic buildings. She can be reached at sturner@jlkarch.com


